I have made a lot of sea glass and am happy with the results. I decided to experiment and see if I could create a similar effect on other materials. I have heard of sea pottery, which, as the name implies, is similar to sea glass but pottery instead of glass. I own and love Fiestaware dishes. Years ago, I dropped some plates while moving, and I have kept the large pieces of three broken Fiestaware plates for decades. I don’t know why. Perhaps years ago, I thought I would use them for a mosaic. Perhaps I am just a hoarder. Anyway, I decided to use those three broken plates for my experiment in making sea pottery.

The process I followed, equipment I used, and safety precautions I took were all similar to making sea glass. I used a hammer to break the plates into smaller pieces. Once I had pieces the size I liked, I put them into rock tumbler drums along with pea gravel.

Then I added water and grit. This is where I changed things a little from the sea glass. For sea glass, I used stage 1 grit because I want to scour the glass and get that matte, somewhat frosted look. With the pottery, I want to soften the sharp edges, but I don’t want to completely remove the glaze. I decided stage 1 grit would be too coarse, so I decided to use stage 3 grit. I wasn’t sure if I should use stage 2 or stage 3 grit. However, if I used stage 3 grit, and it didn’t smooth things enough, I could go backwards and use stage 2 grit. If I used stage 2 grit, and it was too coarse, then I likely have ruined the plates.

Thus, I added the stage 3 grit and started the tumbler. Since I didn’t know how long to tumble the pottery pieces to achieve the look I wanted, I checked the pieces almost every day to see how the pieces were looking. I ended up leaving them in for about a week. Then I proceeded as I did with the sea glass and emptied the drum contents and rinsed and cleaned them with some dish detergent.

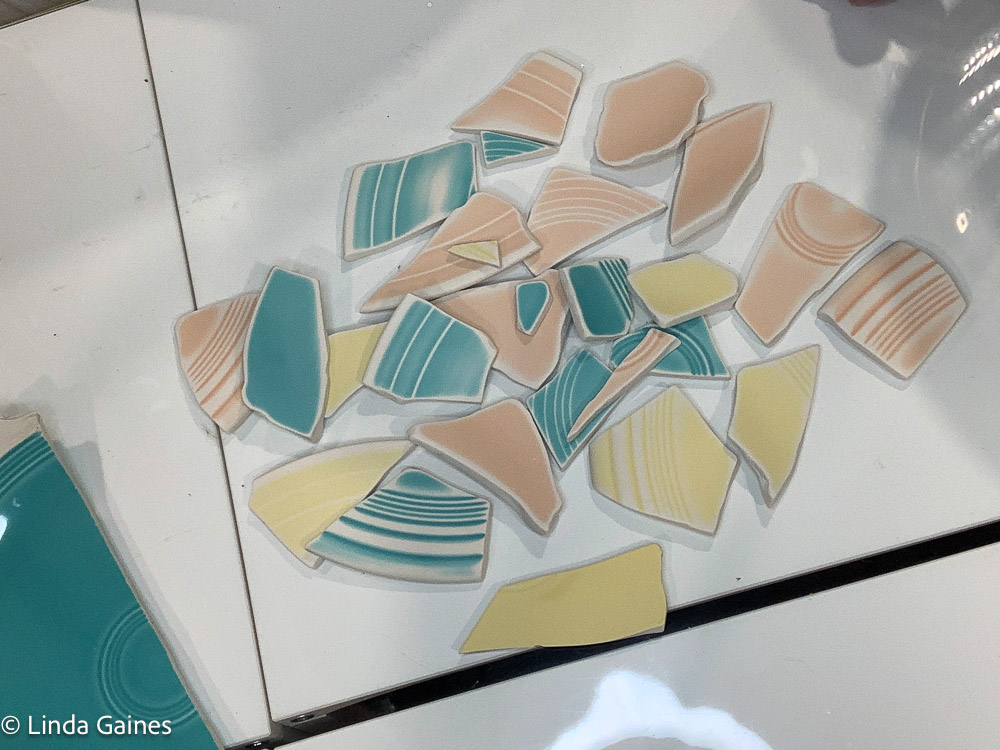
I was very happy with the results. The tumbling did just what I wanted. It smoothed the sharp edges but left much of the glaze intact. With some of the pieces, it removed a bit more glaze than I would have liked, but this is not an exact process. The tumbled pieces feel almost soft. They are very smooth to the touch and have a matte finish. Below are photos of tumbled pieces on top of parts of the plates that I had not tumbled, is you can see how the glaze has been partially removed and the edges softened.


I am really pleased with the results. I can now use my broken Fiestaware plates in pieces of art.

Finally, I made a video of the process I used to make the sea pottery.
One response to “Making Sea Pottery”
You are a busy person! Nice work. Very creative.